
For today’s blog post, I wanted to share the recipe for the tastiest buns I’ve ever eaten. My grandma used to make these occasionally when we went over for a Sunday supper, and every time I saw them being brought to the table I would get so excited. I thought they would be quite complicated to make, but they’re actually super easy!
I know how annoying it can be having to scroll through endless paragraphs just to see what ingredients you’ll need for the recipe, or what the steps are. So instead of inserting a million photos before you get to the ingredient list and directions, I decided to put those first! Then, if you want to see some reference photos while you give this recipe a go, you can just keep scrolling to see what the process looks like at each step.
Ingredients
Makes 1 lb. of dough (8-10 rolls)
Garlic, chopped ————————————–2 cloves
Italian herb seasoning blend ————————2 teaspoons
Water ————————————————-3/4 cup + 2 tablespoons
Olive oil, divided ————————————–1 tablespoon + 1 teaspoon
Salt —————————————————-3/4 teaspoon
Bread flour* ——————————————-2&1/4 cups
Dry Powdered Milk ————————————2 tablespoons
Potato Flakes** —————————————-1&1/2 tablespoons
Asiago cheese, grated ———————————2 tablespoons
Yeast, active dry, instant, or bread machine ———-1&3/4 teaspoons
*I just use regular flour
**If you’re unsure what potato flakes are, it’s the mix from a packet of instant mashed potatoes
Directions
In a small bowl combine the chopped garlic, Italian herbs, and 1 tablespoon of olive oil and mix well. Cover with plastic and reserve.
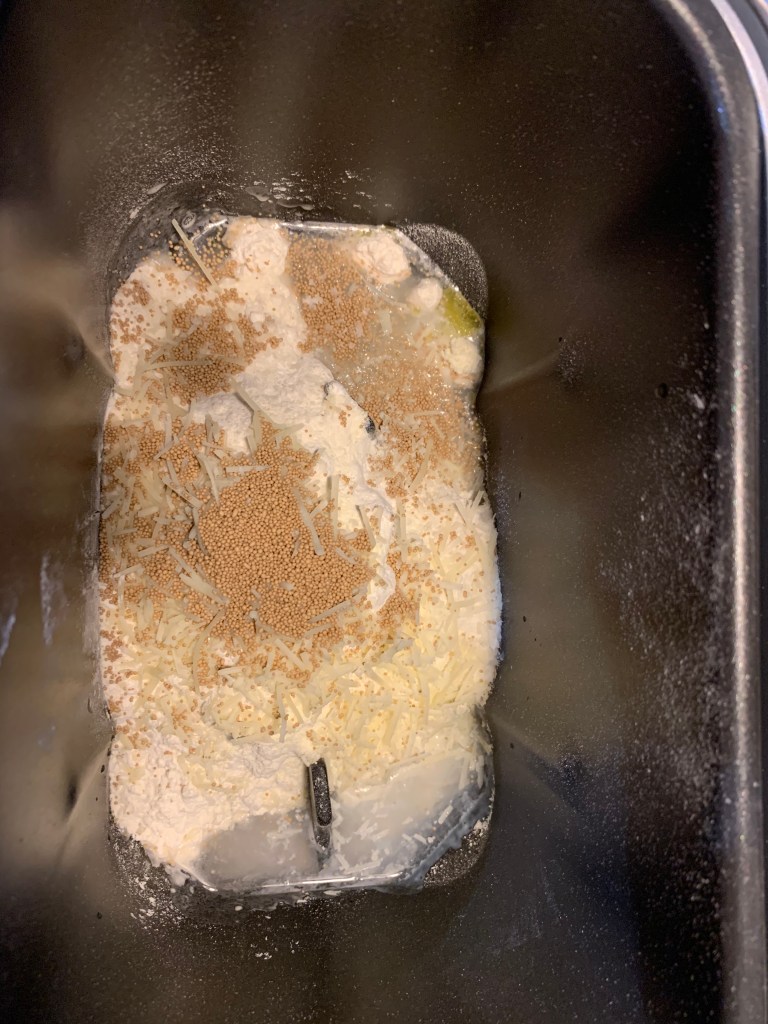
Place the remaining ingredients, in the order listed, in your bread maker’s bread pan fitted with the kneading paddle. Place the bread pan in the bread maker. Select Dough/Pizza Dough. Select dough size (if you can. My machine just has a default size for dough so I couldn’t select 1 lb.) Press Start to mix, knead, and rise.
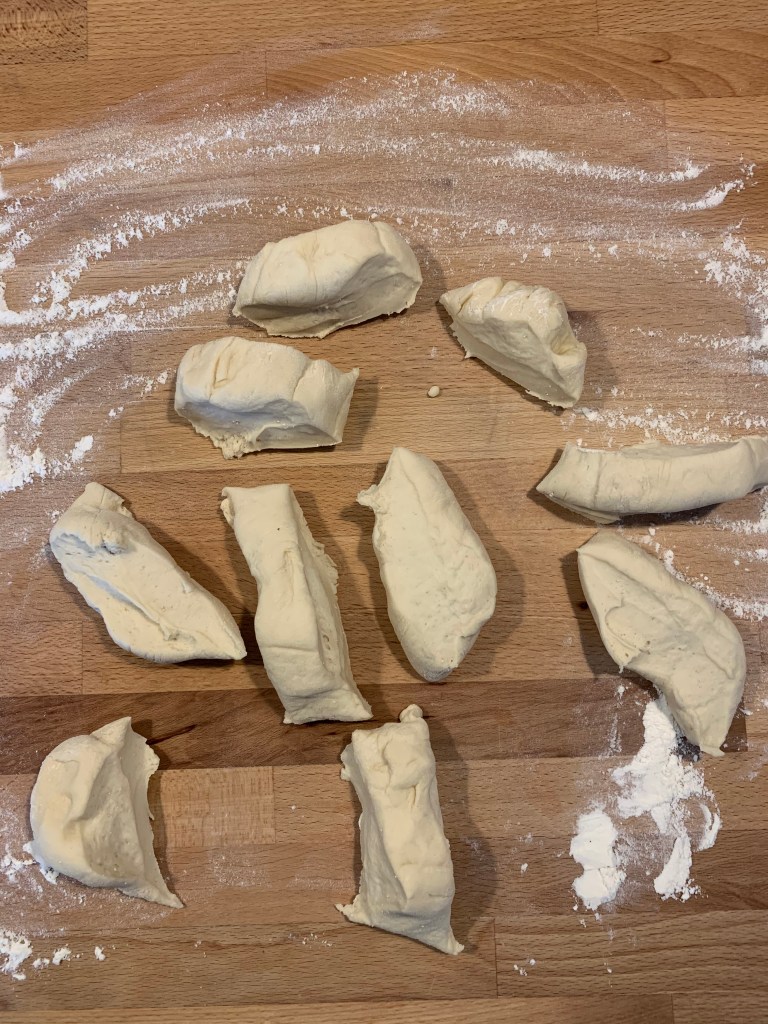
When cycle is completed, remove dough from machine and transfer to a lightly floured surface. Preheat oven to 350F (180C). Divide the dough into 8 or 10 pieces (your choice, I did 10). Roll each into a 10-inch (20cm) rope and shape into a knot. Place on a parchment-lined baking sheet, cover lightly with plastic wrap (I just covered mine with a thin dish towel) and allow to rest for approximately 30 minutes. Bake in preheated oven for 15 to 18 minutes until lightly browned. Brush hot knots lightly with reserved herb/olive oil mixture; let cool 5 to 10 minutes before serving.
Note: I usually give myself about 3 hours to make these. So, if you’re wanting them to be ready at the same time as the rest of your meal, be prepared to start extra early!
Photo Guides
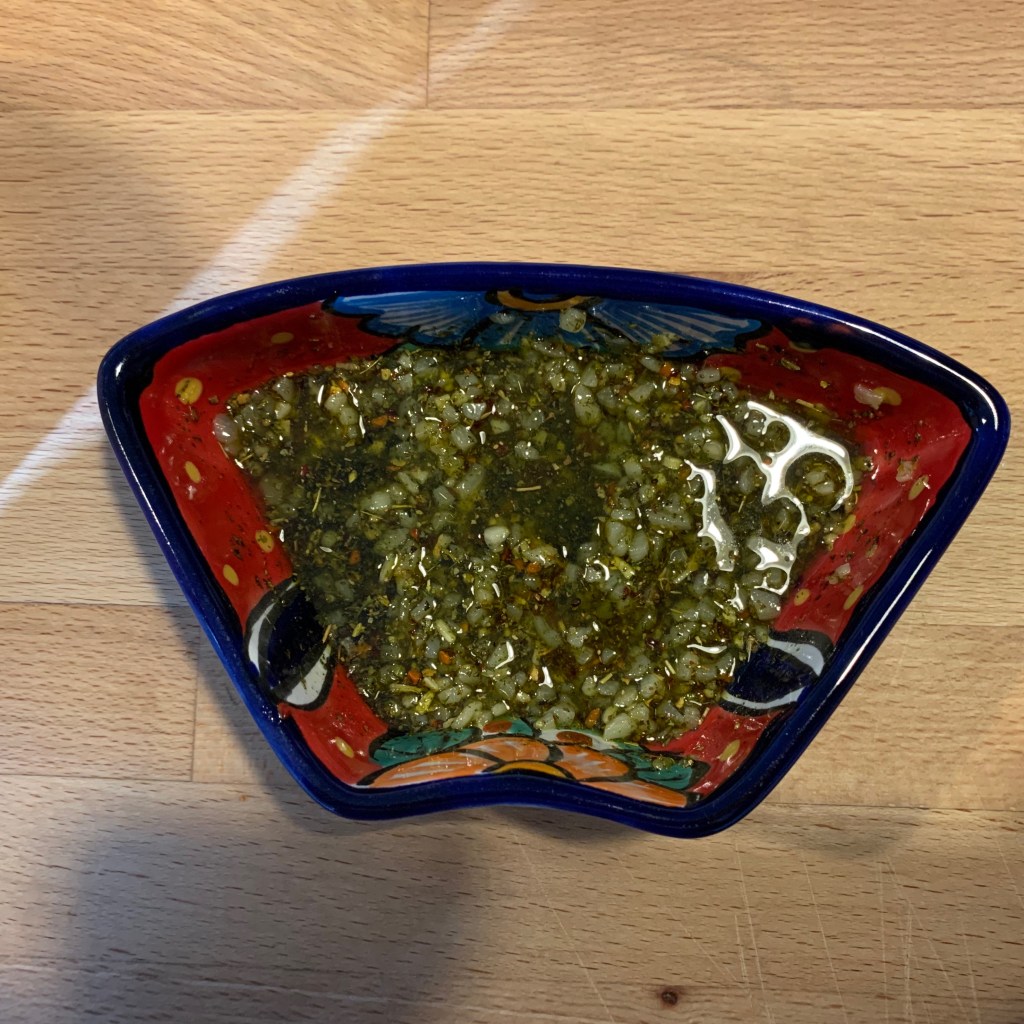
This is my sauce combination – yours may look slightly different because I always add extra garlic.
Place all the other ingredients into your bread machine in the order listed:
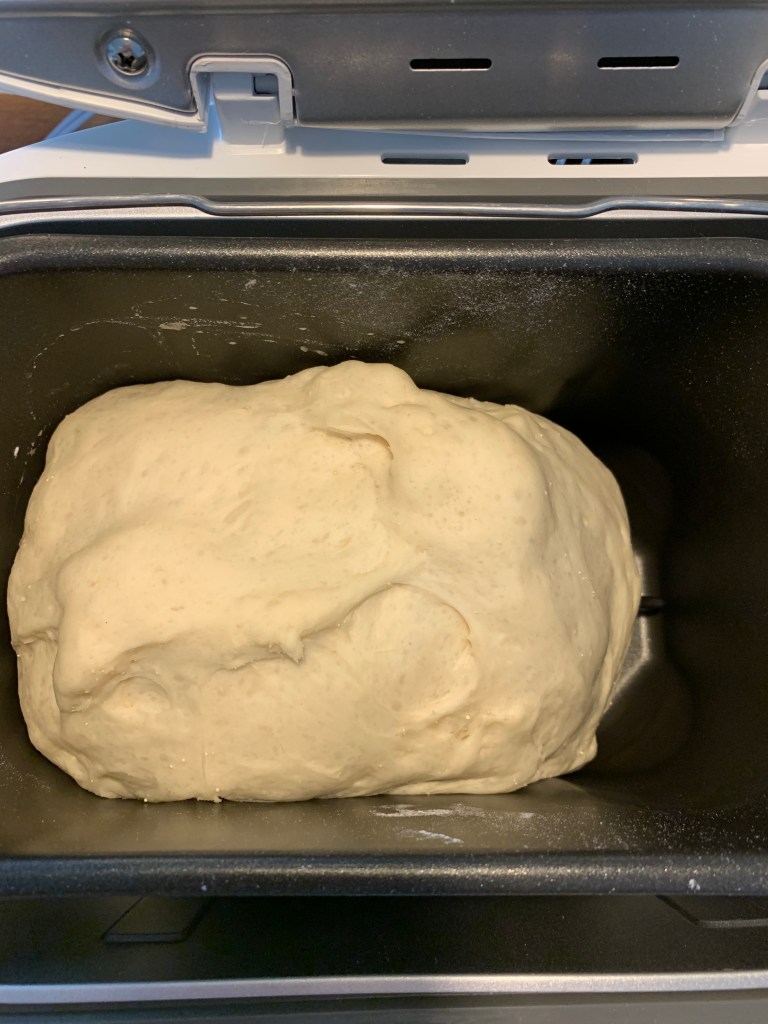
When it’s done, it should go from looking like that to looking like this:
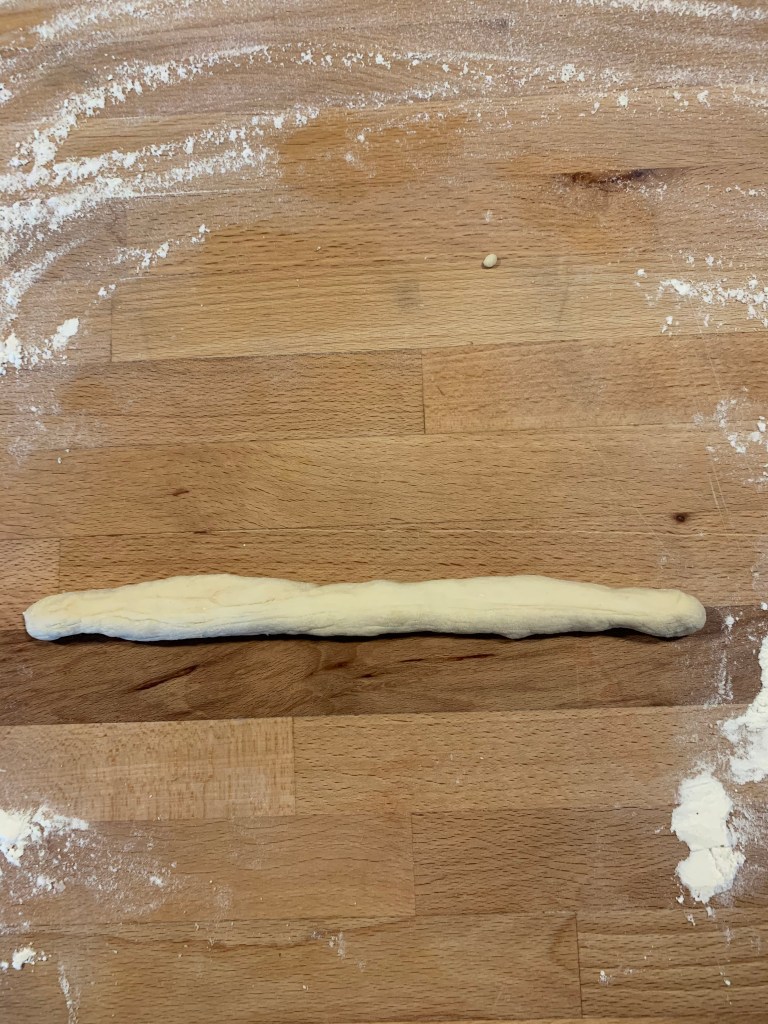
Before I divide up my dough into 10 pieces, I like to roll it out into a log. It just makes it easier to measure out the pieces evenly (even though I still always end up with different sizes)!

Now cut.
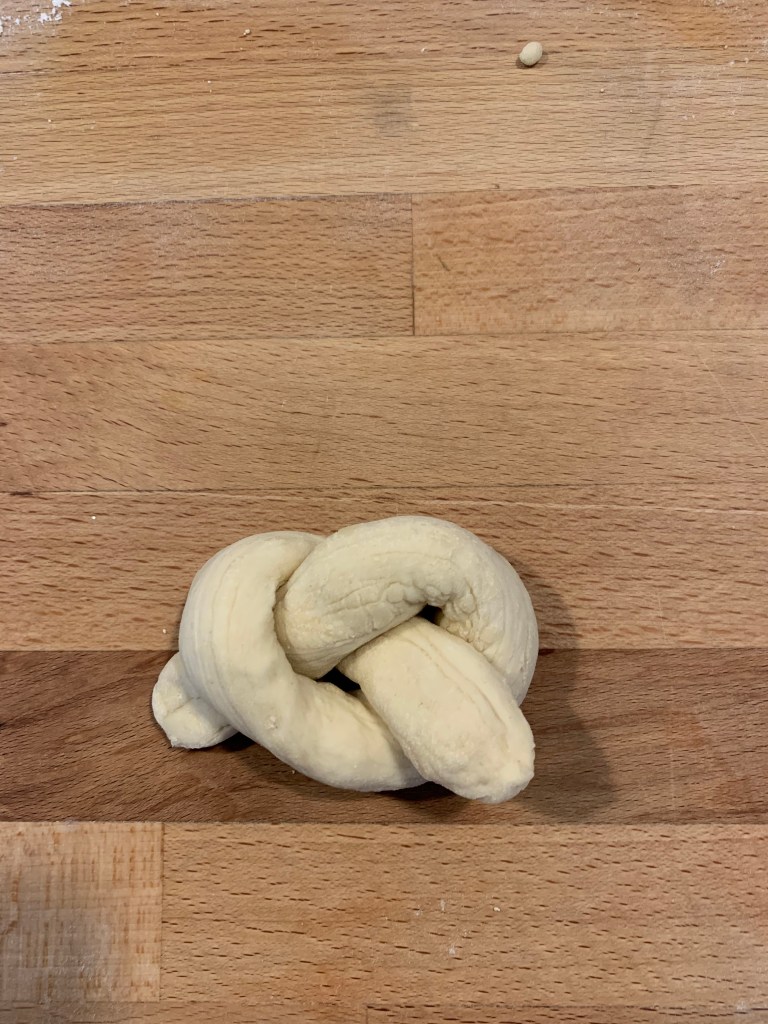
Take each dough piece and roll it into a rope, and then shape into a knot. Cute!
Now put all your lil knots on a parchment lined baking sheet. This is where you cover it with saran wrap, or a dish towel if you don’t hate the environment (I’m kidding please don’t be offended). Let them rise for 30 minutes.
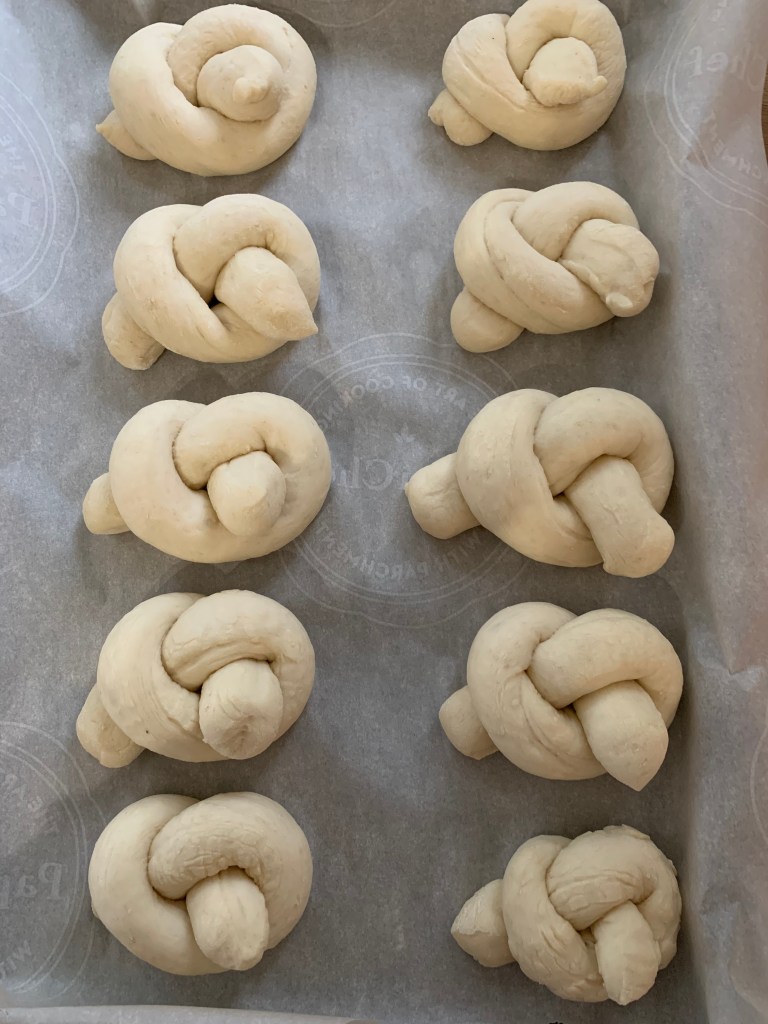
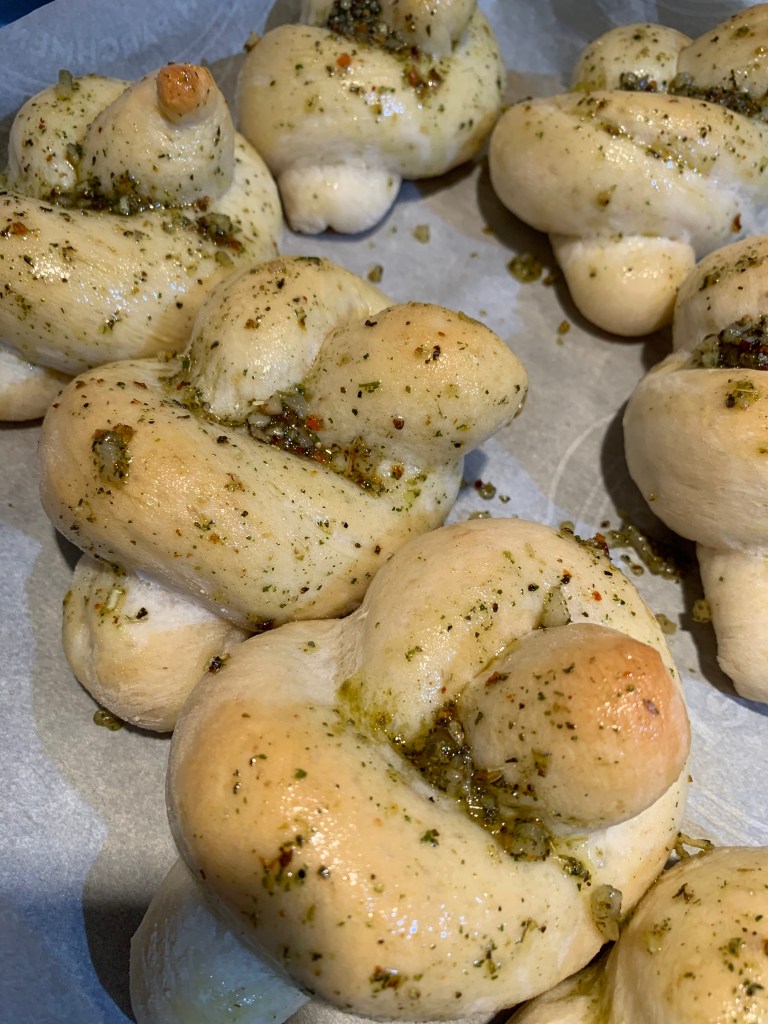
Go ahead and preheat your oven to 350F (180C) during this time. After they have risen, pop your lil babies into the oven for 15-18 minutes. This is what they should look like fresh out of the oven:

While they’re still hot, take your herb and oil mixture from earlier and brush it all over the buns!
And voila! Enjoy your fresh baked beauties.
As you can see these were super simple to make! But they look fancy enough to trick people into thinking you’re an artisan baker. So next time you want to impress your dinner guests (or just try something new in the kitchen) give these a go!
Until next time,
Nadine
